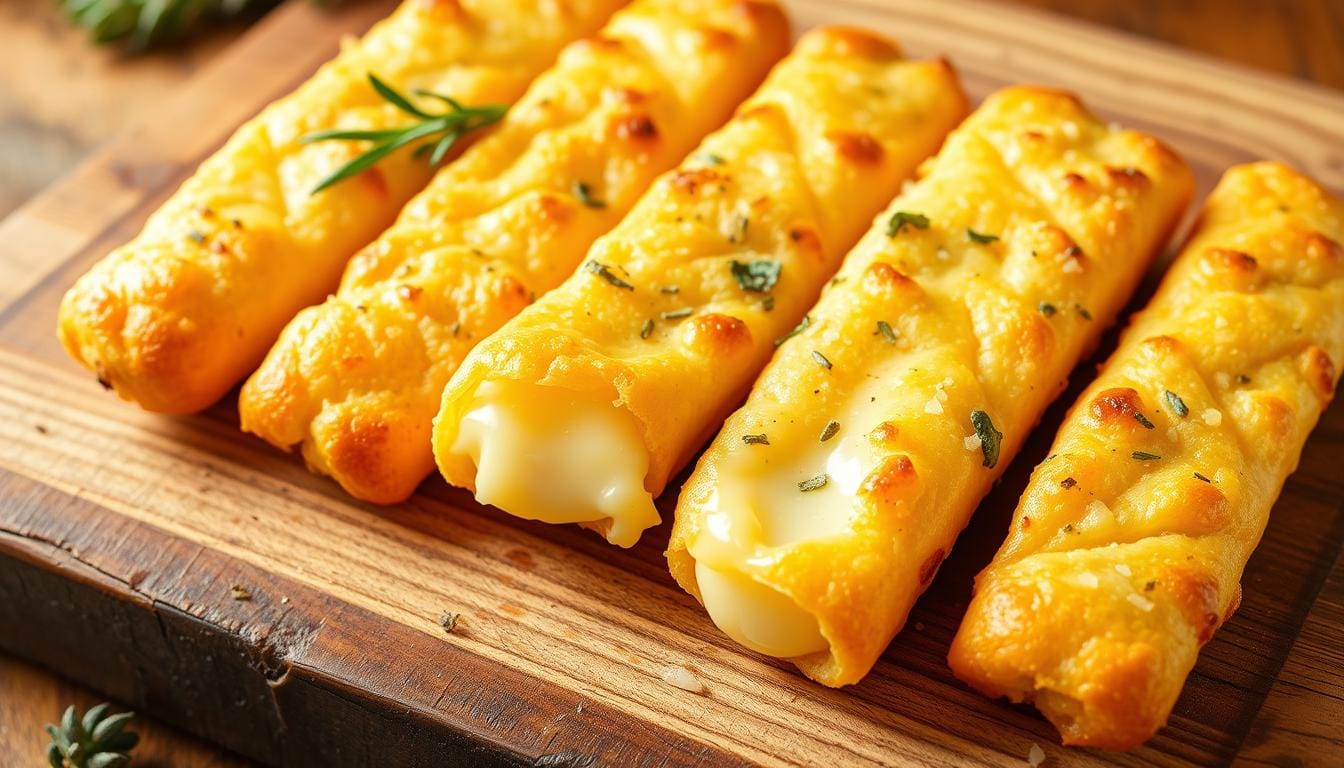
I still remember the first time I made homemade cheese sticks in my kitchen. The recipe was simple, and the taste was amazing. Who wouldn’t love a crispy, golden snack that’s healthier than fried ones?
Baking cheese sticks is a big win for quick snacks. It cuts down calories but keeps the flavor and texture we love. Here, I’ll show you how to make an easy baked cheese stick recipe for any time.
Key Takeaways:
- Simple and easy-to-follow recipe for baked cheese sticks
- Healthier alternative to fried cheese sticks
- Customizable with your favorite seasonings and dips
- Perfect snack for parties or family gatherings
- Quick to make and requires minimal ingredients
The Perfect Baked Cheese Stick: A Healthier Alternative
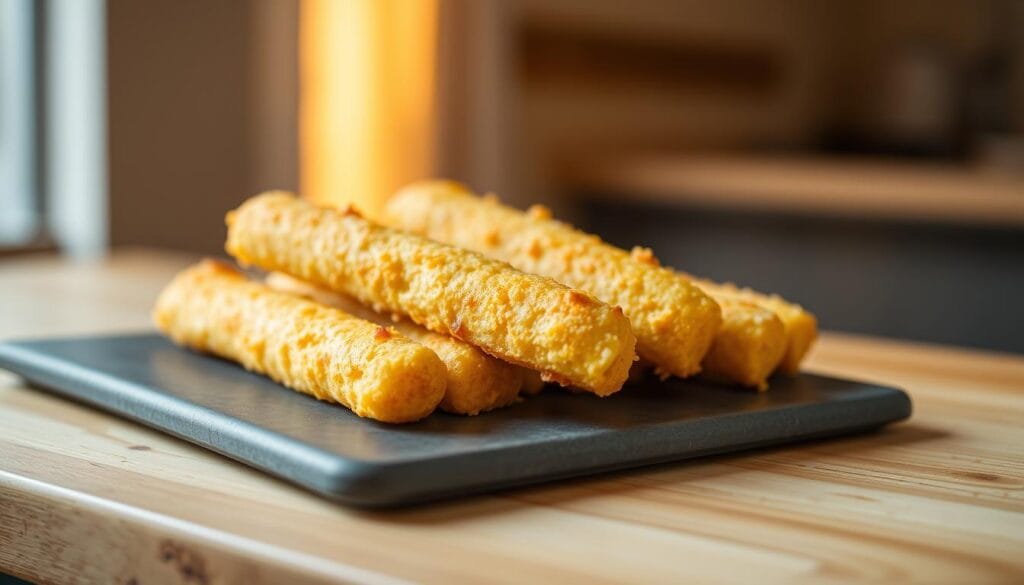
Baked cheese sticks are a tasty, healthier choice compared to fried ones. By baking instead of frying, you cut down on calories and fat. This makes them a great snack option.
Why Choose Baking Over Frying
Baking cheese sticks means no extra oil, making them a healthier alternative. This method keeps the crispy exterior and melty interior you love. Baking also has other benefits:
- Less calories
- Lower fat content
- Easier to make in big batches
Baking reduces the fat content compared to frying (Harvard Health on Fats), making this version a lighter, healthier option.
What Makes This Recipe Special
This baked cheese stick recipe is special because it’s simple yet effective. It uses top-notch ingredients and a basic cooking method. This way, you get perfectly cooked mozzarella sticks every time.
The secret is the double-coating technique. It makes the outside crispy. The result is a snack that’s both healthier and super tasty.
Essential Ingredients for Delicious Cheese Sticks
The secret to a perfect cheese stick is in its ingredients. To make the best cheese stick, pick each part carefully. This will make your snack delicious.
Choosing the Right Cheese
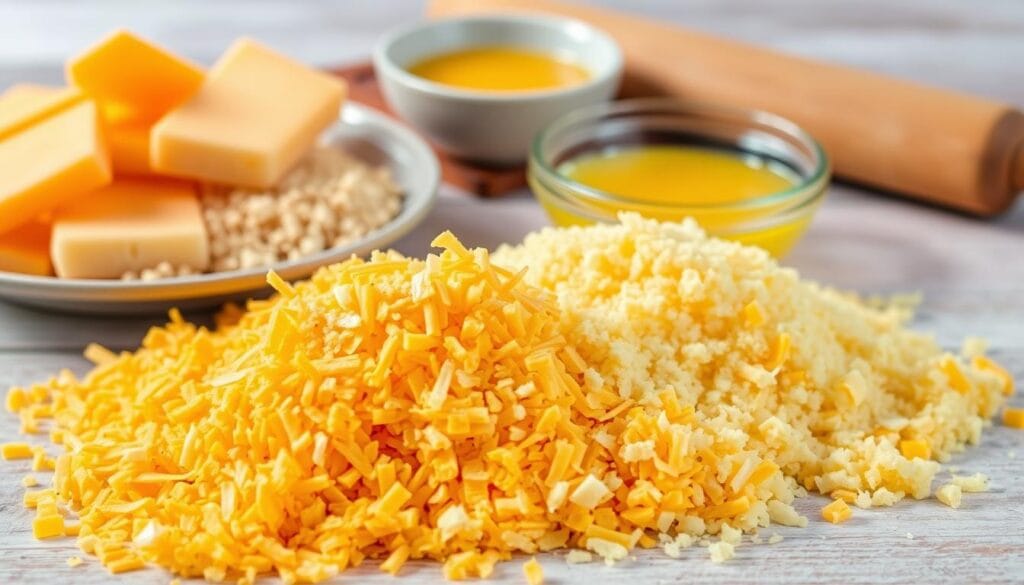
For a crispy cheese stick, the cheese matters a lot. Use top-notch mozzarella or a mix of mozzarella and cheeses like cheddar or parmesan. This ensures it melts well and stays gooey inside.
Breading Components
The breading makes the cheese stick crispy. You’ll need flour, eggs, and breadcrumbs. For an even crunchier outside, try Panko breadcrumbs. They’re lighter and crunchier than regular ones.
Optional Flavor Enhancers
To boost your cheese stick snack‘s taste, add seasonings to the breading. Try dried herbs like oregano or basil, garlic powder, or paprika. A sprinkle of Parmesan cheese adds a special flavor.
Kitchen Tools You’ll Need
Having the right kitchen tools is crucial for a smooth cheese stick preparation process. Making homemade cheese sticks requires some essential equipment to ensure they turn out perfectly.
Basic Equipment Requirements
To start, you’ll need a few basic kitchen tools. These include a cutting board for preparing the cheese, a sharp knife for cutting it into sticks, and a baking sheet lined with parchment paper for baking. You’ll also need bowls for the breading station and a wire rack for cooling the cheese sticks after baking.
Optional Tools for Better Results
While not necessary, some optional tools can improve your cheese stick making experience. A food processor can be used to make breadcrumbs finer, and a deep freezer can help in pre-freezing the cheese sticks for a crisper coating. Additionally, using a silicone baking mat can prevent the cheese sticks from sticking to the baking sheet.
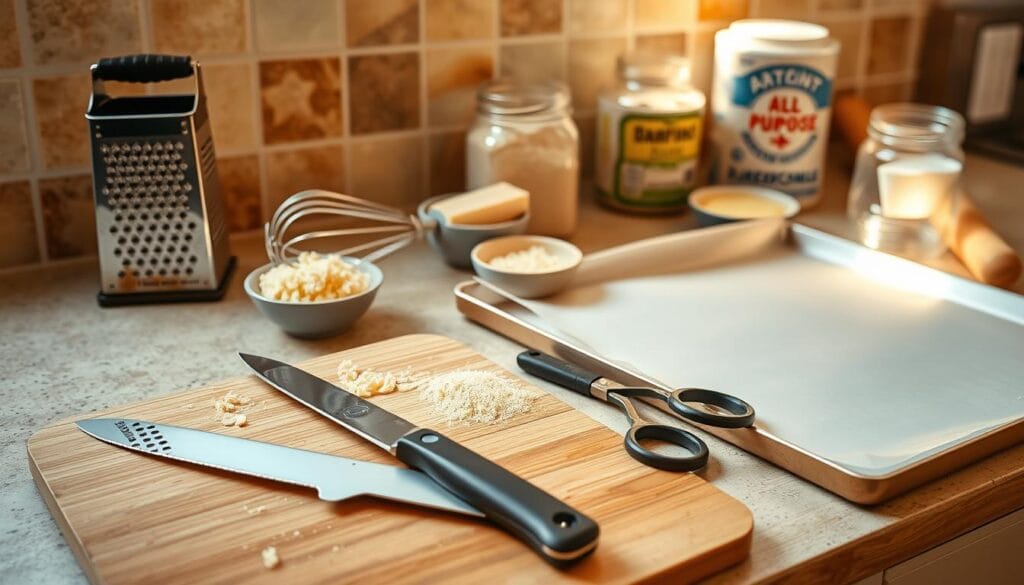
As “The right tools make all the difference in cooking,” a well-equipped kitchen is key to making perfect homemade cheese sticks.
Preparing Your Cheese for the Perfect Cheese Stick
To make the ultimate baked cheese stick, start with the right cheese preparation. This means following a few key steps. These steps will make your cheese sticks crispy on the outside and melted inside.
> Line the baking sheet with parchment paper (Why Parchment Works) or use a nonstick spray.
Cutting Techniques
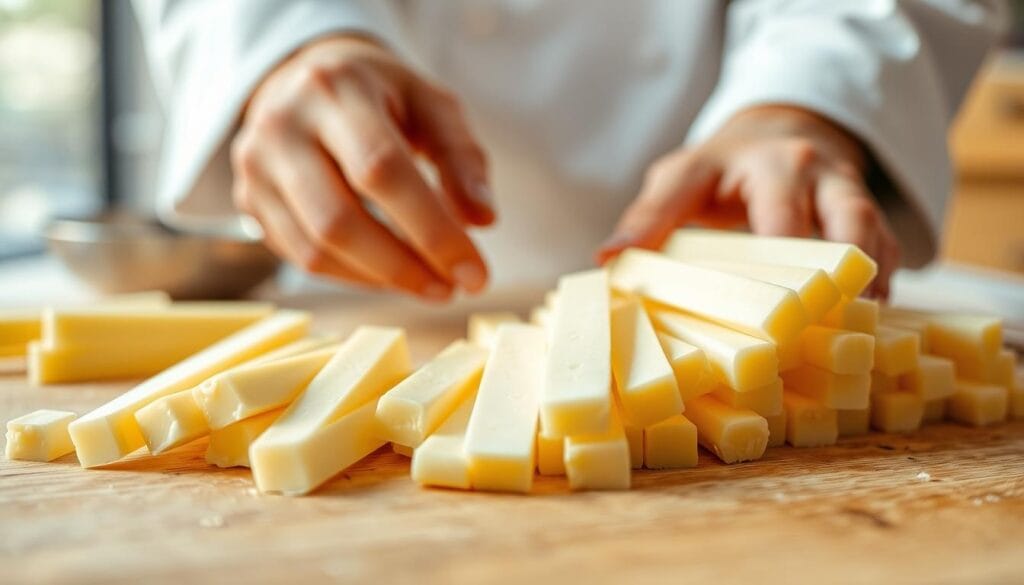
How you cut your cheese is very important. For mozzarella sticks, cut the cheese into strips that are the same size. This helps them bake evenly and have a consistent texture.
Cut the cheese into strips that are about 1/2 inch thick and 3-4 inches long. Keeping the cuts uniform is crucial for a perfect cheese stick.
“The right cut makes all the difference in achieving the perfect cheese stick.”
Pre-Freezing: A Critical Step
Don’t skip the step of pre-freezing the cheese strips. Place the cut cheese on a baking sheet lined with parchment paper. Freeze them for at least 30 minutes.
This helps the cheese keep its shape during breading and baking. It’s key to stop the cheese from melting too fast in the oven. (Freezing and Food Safety – USDA).
Handling Tips for Best Results
When handling the cheese sticks, be gentle. When breading, coat them evenly but gently. Avoid pressing too hard, which can break the cheese.
Also, place the cheese sticks on the baking sheet without touching each other. This allows for even cooking.
By following these steps, you’ll be on your way to making delicious, perfectly baked cheese sticks.
The Ultimate Cheese Stick Breading Process
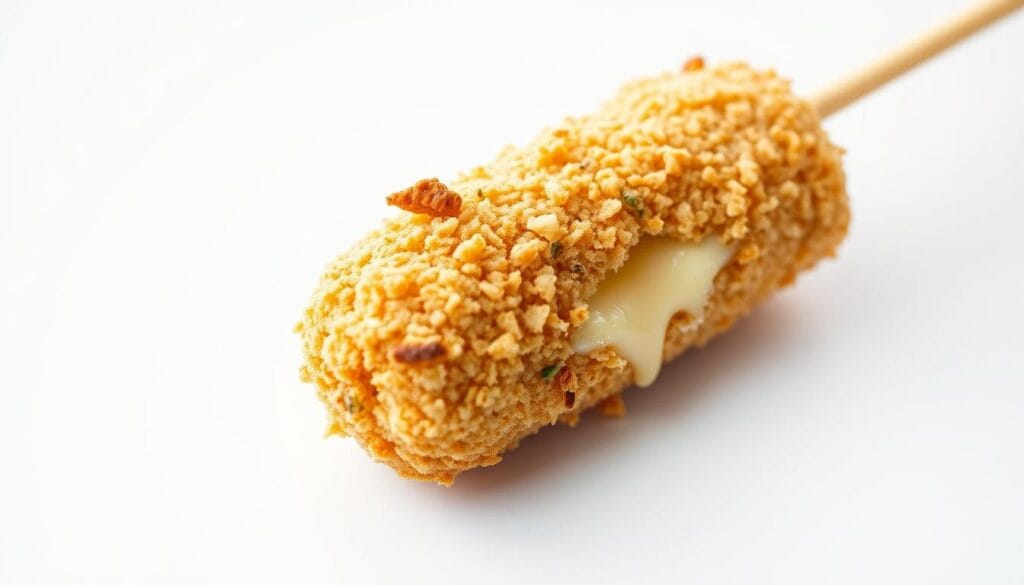
To make irresistible cheese sticks, knowing how to bread them is key. A well-breaded cheese stick not only tastes great but also has a crunchy texture. This makes the snacking experience even better.
Setting Up Your Breading Station
Before you start, set up a breading station. You’ll need three bowls: one for flour, one for beaten eggs, and one for breadcrumbs. Having everything ready makes the process easier and cleaner.
Use simple all-purpose flour for the first layer. It helps the egg stick to the cheese stick. Make sure to beat the eggs well for an even coat.
The Double-Coating Technique
The double-coating technique makes the cheese stick extra crispy. First, coat with flour, egg, and breadcrumbs. Then, dip again in egg and breadcrumbs for more crunch.
“The key to a crispy cheese stick lies in the double-coating technique,” many chefs agree. This method keeps the cheese stick’s shape and adds a nice crunch.
> Double-dipping in flour and egg ensures a thick, crunchy crust that won’t fall off during baking (The Science of Breading).
Common Breading Mistakes to Avoid
A common error is not pressing the breadcrumbs onto the cheese stick. This can cause the coating to fall off during baking. Another mistake is not chilling the breaded cheese sticks before baking. This can make the coating separate from the cheese.
- Not using the right type of breadcrumbs
- Not chilling the breaded cheese sticks
- Overcrowding the baking sheet
Avoiding these mistakes will help you make a perfectly breaded cheese stick. It will be crispy on the outside and melted on the inside.
Step-by-Step Baking Instructions
To bake cheese sticks perfectly, follow these steps. Baking is a healthier choice than frying. It can be just as tasty with the right methods.
Preheating and Preparing Your Baking Sheet
First, preheat your oven to 400°F (200°C). While it heats up, get your baking sheet ready. Line it with parchment paper or a silicone mat. This prevents the cheese sticks from sticking and makes cleaning up easier.
Tip: Parchment paper or a silicone mat helps in removing the cheese sticks without a mess.
Arranging Cheese Sticks for Even Cooking
Put the breaded cheese sticks on the baking sheet in a single layer. Make sure there’s space between each stick for even cooking. If the sheet is too crowded, the cheese sticks won’t cook evenly.
Oven Temperature and Timing
Bake the cheese sticks at 400°F (200°C) for 12-15 minutes. They should turn golden brown. The exact time might vary based on your oven and the cheese stick size.
Start checking the cheese sticks after 10 minutes to prevent overcooking.
How to Tell When They’re Perfectly Done
The cheese sticks are ready when they’re golden brown and crispy. If you’re not sure, take one out and let it cool for a minute or two. The inside should be melted and gooey.
“The perfect cheese stick is all about balance – crispy on the outside and melted on the inside.”
Printable Baked Cheese Stick Recipe Card:
Baked Cheese Stick Recipe
Discover my easy baked cheese stick recipe – a delicious homemade snack that's quick and simple to make.Ingredients
- 12 mozzarella cheese sticks or mozzarella block cut into sticks
- ½ cup all-purpose flour
- 2 large eggs beaten
- 1 cup Panko breadcrumbs
- ½ teaspoon garlic powder optional
- ½ teaspoon dried oregano or basil optional
- 2 tablespoons grated Parmesan cheese optional
- Cooking spray or olive oil for baking
- Parchment paper or silicone baking mat
Instructions
Delicious Dipping Sauce Recipes
Discover the ultimate dipping sauces that will take your baked cheese sticks to the next level. The right dipping sauce can enhance the flavor and enjoyment of your crispy, cheesy treats.
Classic Marinara Sauce
A timeless favorite, marinara sauce is easy to make and always a hit. Simply combine canned crushed tomatoes, minced garlic, olive oil, salt, and your choice of herbs (like basil or oregano) in a saucepan. Simmer until the flavors meld together, and serve warm.
Creamy Ranch Dip
For a creamy contrast to the crispy cheese sticks, try a ranch dip. Mix together sour cream, mayonnaise, dried parsley, dried dill weed, garlic powder, and onion powder. Refrigerate for at least 30 minutes to allow the flavors to blend.
Spicy Options for Heat Lovers
If you like a little heat, consider a spicy dipping sauce. You can make a simple spicy sauce by mixing together hot sauce (like Frank’s RedHot) and butter, or try a more complex recipe involving diced jalapeños and cream cheese.
| Dipping Sauce | Main Ingredients | Taste Profile |
|---|---|---|
| Marinara Sauce | Crushed tomatoes, garlic, olive oil | Tomatoey, slightly sweet |
| Creamy Ranch Dip | Sour cream, mayonnaise, herbs | Creamy, tangy |
| Spicy Sauce | Hot sauce, butter or cream cheese | Spicy, savory |
Creative Variations of the Classic Cheese Stick
Take your cheese stick game to the next level with these creative and delicious variations. The classic cheese stick recipe is a versatile canvas waiting for your personal touch.
Different Cheese Options
Experimenting with various types of cheese can significantly alter the flavor profile of your cheese sticks. While mozzarella is a popular choice, offering the perfect stretch and melt (USDA Nutrient Data).
Other cheeses like Parmesan, Gouda, or a blend of cheddar and Monterey Jack can offer unique tastes. For a spicy kick, consider using Pepper Jack or a cheese infused with jalapeños.
For those looking for a lighter option, using part-skim mozzarella or reduced-fat cheddar can be a good alternative without compromising too much on taste. The key is to choose a cheese that melts well and has a flavor you enjoy.
Flavor-Infused Breadcrumbs
One of the simplest ways to add an extra layer of flavor to your cheese sticks is by using flavor-infused breadcrumbs. You can easily make your own by mixing dried herbs like thyme, oregano, or basil into regular breadcrumbs. For a more robust flavor, try adding grated Parmesan or garlic powder to your breadcrumb mixture.
Another option is to use seasoned breadcrumbs or Panko breadcrumbs for a lighter, crisper coating. Experimenting with different seasoning combinations can help you find the perfect match for your cheese sticks.
Stuffed Cheese Stick Innovations
Why stop at just cheese? Consider adding other ingredients inside your cheese sticks for an extra surprise. Some ideas include ham, pepperoni, or even jalapeños for an added kick. You can also experiment with different herbs or spices within the cheese itself.
To make stuffed cheese sticks, simply place your chosen filling in the center of the cheese stick before breading. This adds a fun twist to the classic recipe and can be a great way to incorporate other flavors or textures.
Storing and Reheating Your Homemade Cheese Sticks
After enjoying your delicious baked cheese sticks, it’s essential to know how to store and reheat them properly. This way, you can keep their crispy exterior and melted interior.
Proper Storage Methods
To keep your cheese sticks fresh, store them in an airtight container in the refrigerator. You can also freeze them for longer storage. When freezing, place the cheese sticks on a baking sheet lined with parchment paper and freeze until solid. Then, transfer them to a freezer-safe bag or container.
Best Reheating Techniques
For reheating, the oven is your best bet to regain that crispy coating. Preheat your oven to 375°F (190°C). Place the cheese sticks on a baking sheet lined with parchment paper and bake for 5-7 minutes, or until crispy and heated through. You can also reheat them in an air fryer for an even crisper result.
| Reheating Method | Temperature | Time |
|---|---|---|
| Oven | 375°F (190°C) | 5-7 minutes |
| Air Fryer | 375°F (190°C) | 3-5 minutes |
Make-Ahead Tips for Parties
You can prepare cheese sticks ahead of time for parties. Simply bread them, freeze, and bake when needed. This makes them a perfect cheese stick appetizer for any gathering.
Frequently Asked Questions:
What is the best type of cheese to use for mozzarella sticks?
I suggest using top-notch mozzarella cheese, like BelGioioso or Galbani, for the best taste and texture. You can also try cheddar or provolone for a unique flavor.
Can I make cheese sticks ahead of time and freeze them?
Yes, you can make cheese sticks ahead and freeze them. Place them on a baking sheet, then put them in a freezer-safe bag or container. Bake them straight from the freezer, adding a few extra minutes.
How do I achieve a crispy exterior on my baked cheese sticks?
To get a crispy exterior, use a double-coating with breadcrumbs. Pre-freezing the cheese sticks helps too. Panko breadcrumbs can make it even crunchier.
Can I use a different type of breading for my cheese sticks?
Definitely! Try different breadcrumbs like whole wheat or gluten-free. You can also use crushed crackers or grated Parmesan for extra flavor.
How do I reheat leftover cheese sticks?
To reheat leftover cheese sticks, bake them at 375°F (190°C) for a few minutes. They should be crispy and hot. You can also use an air fryer for a crunchier exterior.
Can I make cheese sticks in an air fryer instead of baking them?
Yes, you can make cheese sticks in an air fryer! Cook them at 375°F (190°C) for a few minutes. Shake halfway through. Watch them closely to avoid overcooking.
Conclusion
Making a tasty homemade cheese stick is now easy with this simple recipe. Just follow the steps in this article. You’ll get a snack that’s healthier and more flavorful than fried ones.
The secret to a great cheese stick is in the prep. Choose the right cheese and get the breading just right. Try different flavors and dips to find your favorite.
You might also like:
- How to Make Homemade Cereal Bars at Home in 5 Easy Steps
- How to Make a Perfect Sweet Breakfast Recipe in 10 Minutes
- How to Make Fluffy Pancake Recipe No Egg in 20 Minutes
Did you try this recipe?
We’d love to hear how it turned out! Leave a comment below with your thoughts, tips, or any creative twists you added.
✨Rate this recipe by clicking the stars in the recipe card above – it helps others find it and shows us what you love.
Have a question or need help with substitutions?
Ask in the comments — we respond quickly! Share your cheesy creations on social media and tag us @Recipizy for a chance to get featured!








Leave a Star rating